
Last updated November 16, 2026
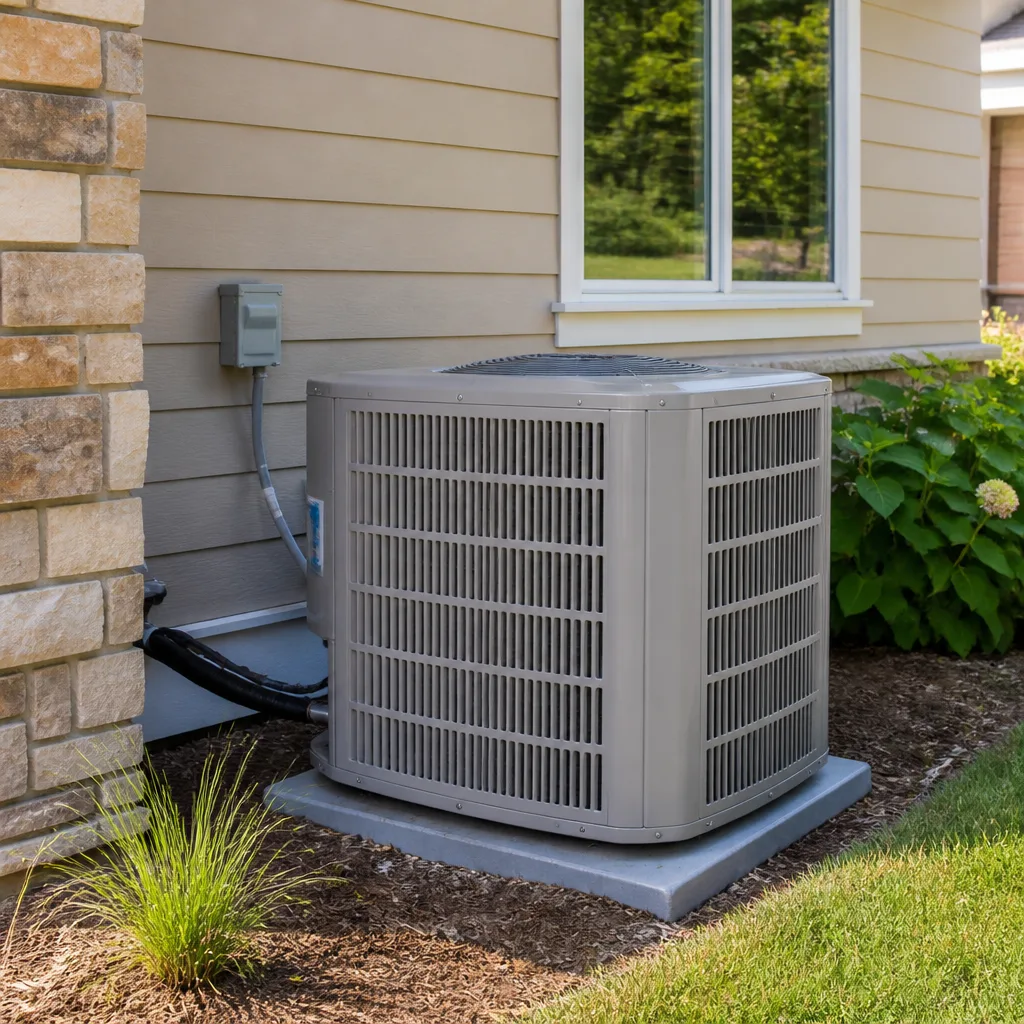 AC repair
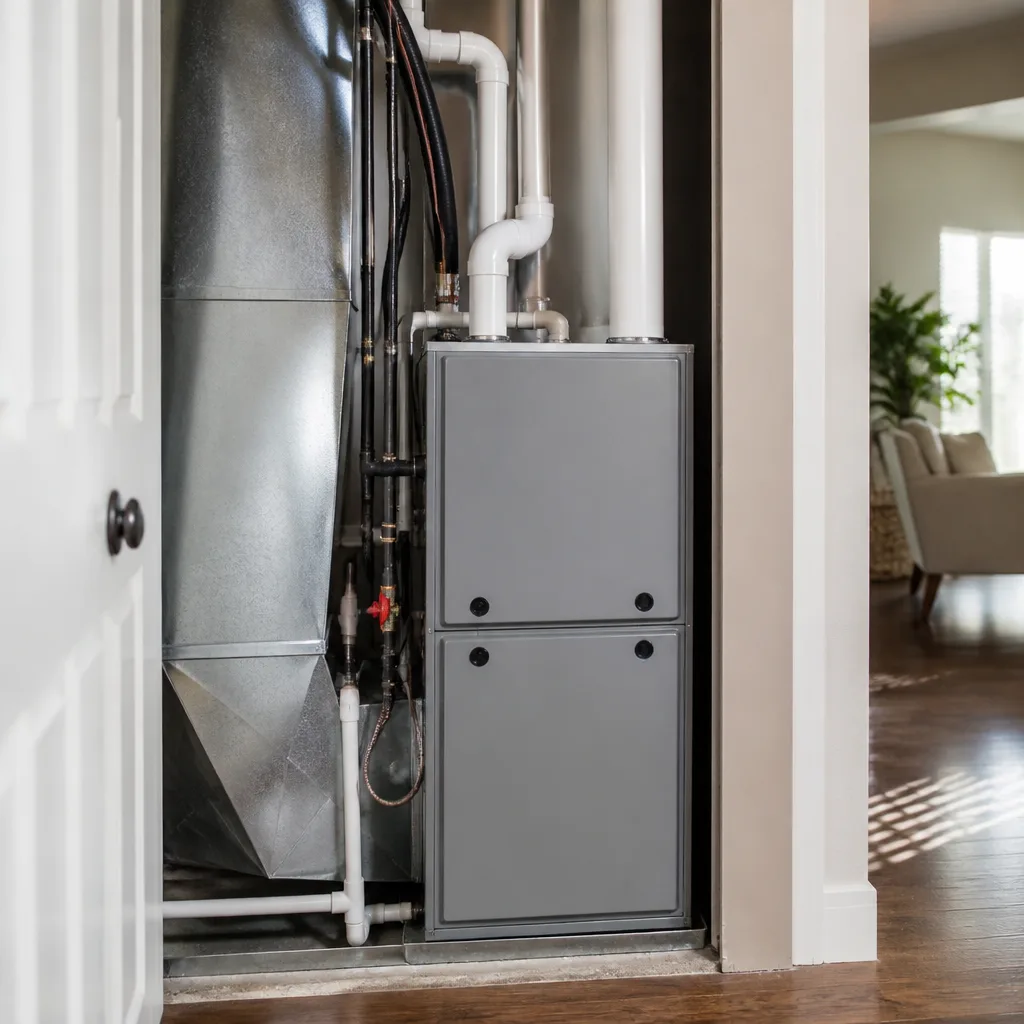 Furnace & heating
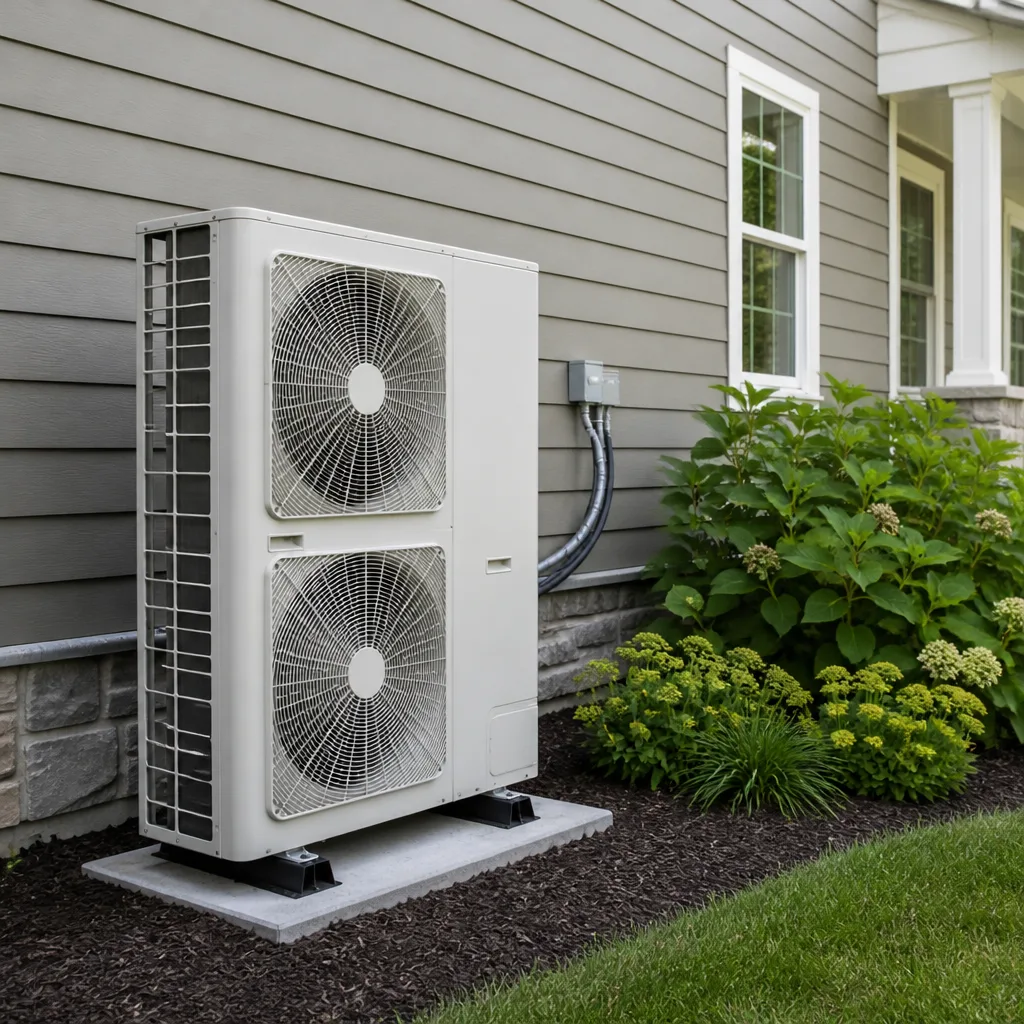 Heat pumps
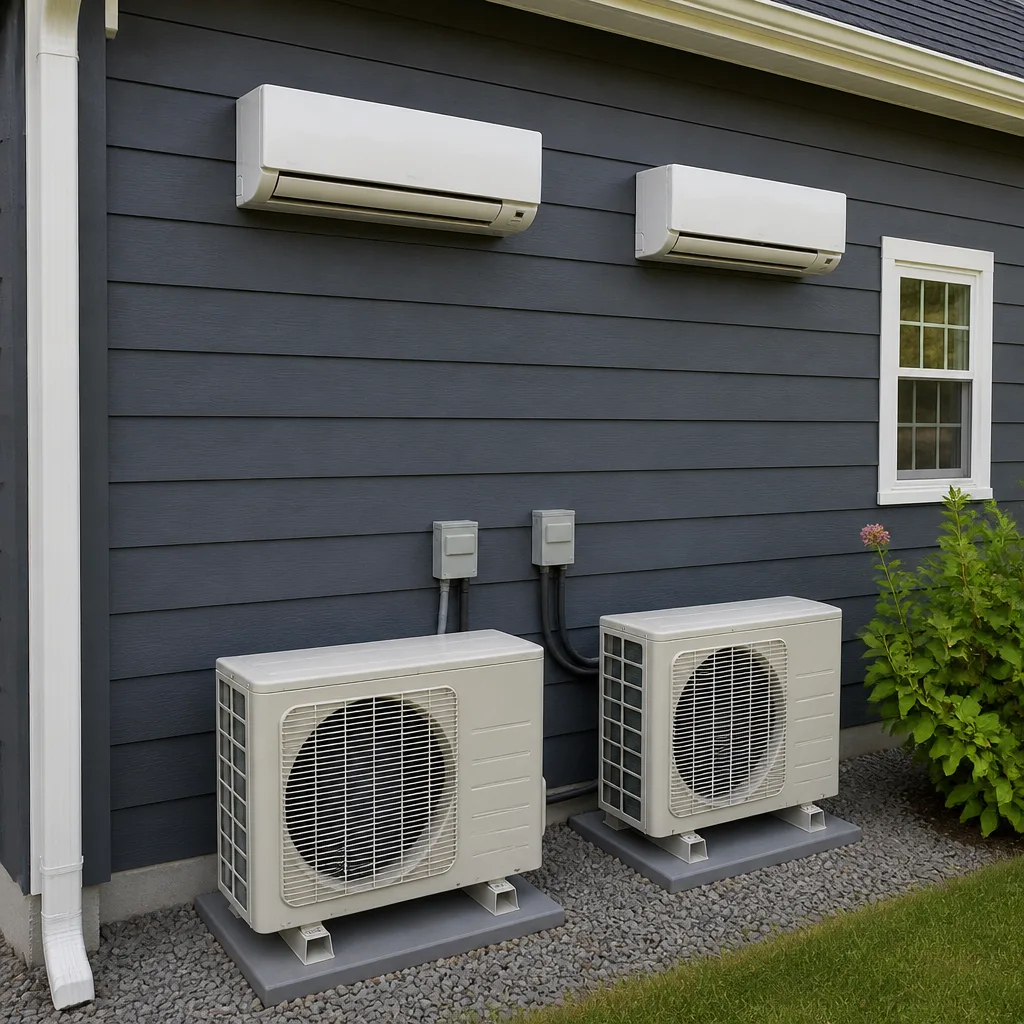 Ductless mini splits
 Carrier
 Trane
 Goodman
Seasonal tune-up and full diagnostic on your Carrier, Trane, or Goodman system - readings shown to you before any repair is proposed
Diagnosis first, numbers second - you approve the repair price before a single part goes in.
Get your free estimateAC Installation Maintenance Checklist for El Monte Homeowners
A properly sized and installed AC unit loses up to 30% of its rated efficiency within the first year if three specific post-installation steps are skipped, and most installation invoices don’t even mention them. That’s the part nobody tells you. The crew packs up, the air feels cold, and the paperwork goes in a drawer. Six months later you’re wondering why the electric bill crept up or why the unit short-cycles on a hot afternoon. This checklist hands the verification power back to you, the homeowner, so you can confirm the work was done right before the crew leaves and know exactly what to watch for in the first year. We’ll walk through what to check in El Monte, from refrigerant charge to filter schedules tuned for our particular dust load.
Quick Answer
Before your installation crew leaves, verify three things in writing: the measured refrigerant charge (subcooling or superheat, not just “topped off”), the static pressure test results for your ductwork, and a labeled electrical disconnect. Then follow a 30-day, 90-day, and 1-year milestone schedule, and shorten your filter change interval compared to the manufacturer’s default because El Monte’s airborne dust loads filters faster than most of the country.
Styles & brands we work with
- AC repair
- Furnace & heating
- Heat pumps
- Ductless mini splits
- Carrier
- Trane
- Goodman
Table of Contents
- What to Verify Before the Installation Crew Leaves
- Red Flags on an AC Installation Invoice
- The 30-Day, 90-Day, and 1-Year Maintenance Milestones
- How El Monte Dust Changes Your Filter Break-In Schedule
- Brand-Specific Commissioning Steps to Ask For in Writing
- What to Watch in the First Cooling Season
- Protecting Your Warranty in California’s Climate
- Common Mistakes to Avoid
What to Verify Before the Installation Crew Leaves
The single most valuable twenty minutes of your entire installation happens before the crew drives away. Once they’re gone, unwinding a commissioning problem becomes a service call, and sometimes a dispute. Ask to see the readings while the gauges are still connected. A technician who did the work correctly will hand you the numbers without hesitation. One who cut corners will suddenly get very busy.
Walk through this list with the lead technician, in person, before the truck is packed:
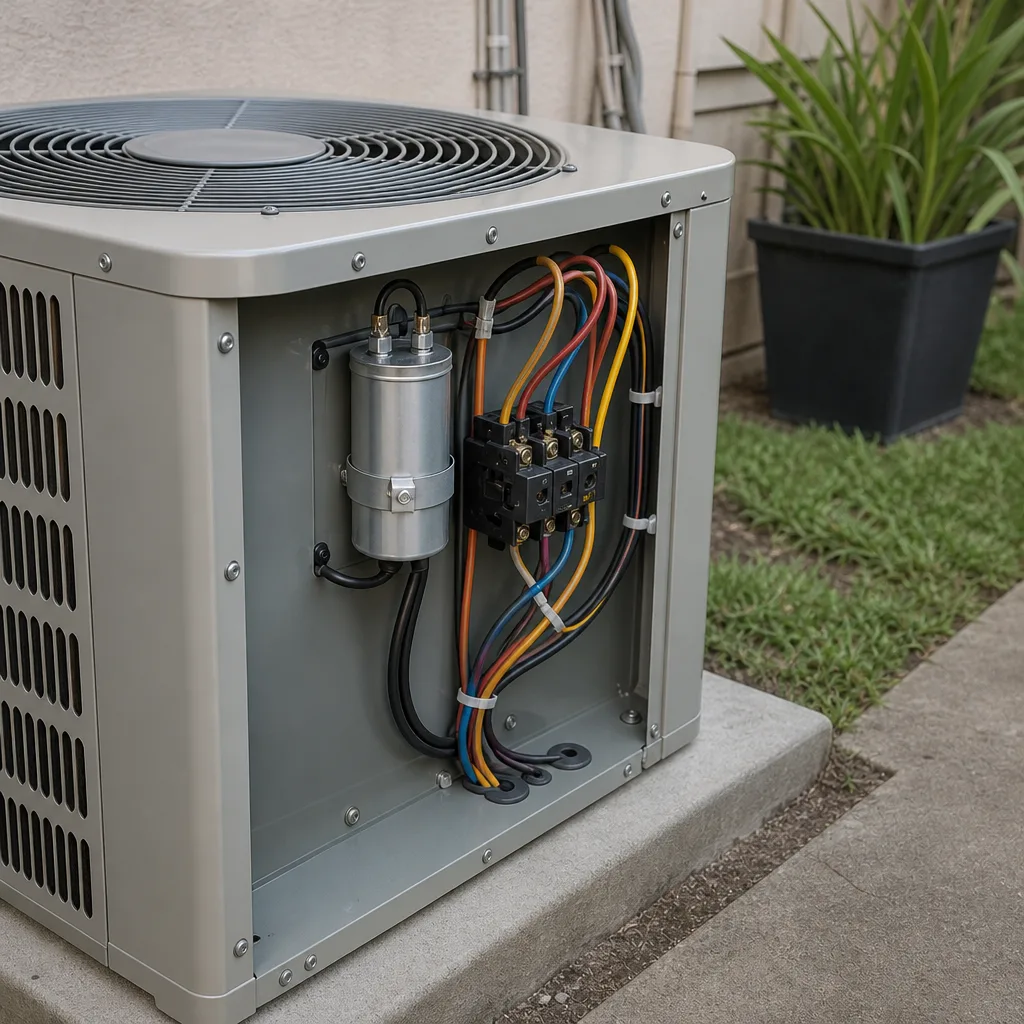
- Refrigerant charge confirmation. Ask for the measured subcooling (for a TXV system) or superheat (for a fixed-orifice system) figure and the target the manufacturer specifies for your model. A charge that’s “close enough” costs efficiency and shortens compressor life. You want the number, not a thumbs-up.
- Static pressure test results. This tells you whether your ductwork can actually move the airflow the new unit needs. High static pressure means the blower is fighting a restricted duct system, and the unit will run hot, loud, and inefficient. Ask for the total external static pressure reading in inches of water column.
- Electrical disconnect labeling. Every disconnect, breaker, and safety switch tied to the new equipment should be labeled clearly. This is a safety issue first and a service convenience second. If the next technician has to guess which breaker feeds the condenser, that’s a problem.
- Line set and drain verification. Confirm the condensate drain has a proper trap and pitches away from the house, and that the secondary drain or float switch is wired and tested. A clogged drain in July means water damage to your ceiling or closet floor.
- Temperature split check. A quick return-air versus supply-air temperature reading confirms the unit is actually cooling at install time. Ask for the number.
- Filter size and location documented. Write down the exact filter size and where it lives before the crew leaves. You’ll need it for the break-in schedule below.
If you’re shopping for a new system rather than verifying one just installed, our team handles AC installation and can walk you through the same commissioning steps on the front end so nothing gets skipped.
Red Flags on an AC Installation Invoice
Your invoice is a paper trail. When something goes wrong eighteen months later, the warranty claim and the diagnostic both hinge on what’s written there. Read it before you sign it, and look for what’s missing as carefully as what’s there.
Here are the specific line items that should appear, and the absences that should make you ask questions:
- No model and serial numbers. The invoice should list the exact model and serial numbers of the condenser, air handler, and any coil replaced. Without them, warranty registration is guesswork.
- No load calculation reference. A proper install starts with a room-by-room load calculation (Manual J is the standard method). If the invoice doesn’t mention sizing or load calculation at all, you may have gotten a “same size as the old one” swap, which is not the same thing.
- No refrigerant charge readings. A line that says “charged system” or “added refrigerant” without a measured number is a red flag. You want subcooling or superheat documented.
- No static pressure or airflow data. If the ductwork was evaluated or modified, there should be a note. If it wasn’t touched and wasn’t tested, ask why.
- No permit number. Most California cities require a permit for AC replacement and new installation, and the permit number belongs on the invoice. Ask your city’s building department what applies to your address.
- Condenser pad and clearances undocumented. The invoice should reflect that the outdoor unit was set on a proper pad with the manufacturer-specified clearance from walls and fences.
- No thermostat commissioning note. New thermostats need configuration (staging, fan delays, cycle rates). A blank line here usually means default settings were left in place.
If you’ve inherited a system with a thin paper trail and want a fresh set of eyes, we’re happy to take a look. See what we do across El Monte for a clearer picture of the local service.
The 30-Day, 90-Day, and 1-Year Maintenance Milestones
The first year of a new AC system is when most installation-caused problems surface. Filters load up, refrigerant lines settle, and any weaknesses in the commissioning show themselves under real summer load. A milestone schedule catches these early, when a fix is a quick adjustment rather than a parts bill.
At 30 Days
- Change the air filter (see the dust section below for why this comes faster in El Monte).
- Walk outside and listen to the condenser. Any rattling, buzzing, or rhythmic clicking deserves a look before it becomes a repair.
- Check the condensate drain for standing water or slow drainage.
- Note the return-air and supply-air temperatures if you have a basic thermometer; compare to the install-time split.
- Confirm the thermostat is holding the set temperature without short-cycling (turning on and off every few minutes).
At 90 Days
- Change the filter again if you’re in a dusty stretch or have pets.
- Look at the outdoor unit’s coil fins for visible dust or debris buildup and rinse gently if needed (power off first).
- Test the safety float switch if your system has one, or have it tested.
- If you noticed any noise or performance change at 30 days that wasn’t resolved, address it now.
At 1 Year
Book a professional tune-up before the next cooling season. This is the checkpoint that most manufacturers expect to keep the parts warranty intact, and it’s your best shot at catching a slow refrigerant leak or a failing capacitor while it’s still a small line item. If the tune-up turns up something bigger, our furnace repair and cooling teams share the same diagnostic approach, so you’re not starting from scratch with a different contractor.
How El Monte Dust Changes Your Filter Break-In Schedule
The manufacturer’s filter-change interval on the box is a national average. It doesn’t know that El Monte sits in a basin where dry, windy stretches push fine dust and pollen through the air and into return ducts at a higher rate than most of the country. If you follow the manufacturer’s default, you’ll be running a clogged filter long before the recommended change date.
Here’s a break-in schedule that accounts for the local dust load:
- First 30 days after install: change the filter regardless of what the packaging says. New equipment sheds a small amount of manufacturing residue, and the first month captures it.
- Days 31 to 90: check the filter every two weeks and change when you can see a visible gray mat across the pleats. For most El Monte homes on a standard 1-inch filter, that’s every 30 to 45 days during a dry, windy stretch.
- Months 4 through 12: change monthly during the cooling season (roughly May through September) and every 60 to 90 days the rest of the year. Homes with pets, nearby construction, or a lot of open windows should shorten every interval.
- Upgrade consideration: if you’re changing a 1-inch filter monthly, ask about a thicker media filter cabinet during install. The higher surface area holds more dust before it restricts airflow, which matters in a dusty basin.
One caution: don’t jump to the highest-MERV filter you can find. A filter that’s too restrictive chokes airflow and creates the exact static-pressure problem we flagged earlier. Match the filter rating to what your system’s blower can move.
Brand-Specific Commissioning Steps to Ask For in Writing
Every major manufacturer has its own commissioning quirks, and a technician who works across brands knows the differences. Our team is certified to work on Carrier, Trane, Lennox, Goodman, Rheem, York, Daikin, Bryant, and American Standard equipment, which means the commissioning steps aren’t a learning curve. You should still ask for them in writing on the invoice.
Here’s a general idea of what differs and what to request:
- Charge targets vary by model and metering device. A Carrier or Bryant system may specify a subcooling target that differs from a Trane unit of similar capacity. Ask the technician to document the specific target from the manufacturer’s installation manual for your model, along with the measured value.
- Airflow settings vary by air handler. Many variable-speed air handlers ship on a default tap that may not match your duct system. Ask for the selected airflow setting and the reason for it.
- Defrost and safety control setup varies. Some units require configuration of low-pressure or freeze protection that others have preset. Confirm the safety controls are enabled per the manual.
- Warranty registration timing is manufacturer-specific. Registration deadlines differ, and some brands require registration within a set window to activate the full parts warranty. Ask the installer to register the equipment and give you the confirmation.
- Thermostat compatibility notes. Some communicating systems (common with higher-end Trane and American Standard equipment) need a specific thermostat to unlock full staging and diagnostics. Ask what was installed and why.
If you’d like a second opinion on a system that was installed by someone else, our AC Repair El Monte team can review the commissioning data and tell you what’s missing.
What to Watch in the First Cooling Season
The first full summer tells you more about your installation than any invoice ever will. El Monte’s inland valley heat pushes equipment harder than coastal communities, and the way a new system handles a long, hot afternoon is a good sign of whether the commissioning was done right.
Watch for these patterns, and note when they appear:
- Short cycling. If the system runs for a few minutes, shuts off, and comes back on repeatedly, you may have an oversized unit, a thermostat issue, or a refrigerant charge problem. All three trace back to install decisions.
- Long runtimes that never quite reach setpoint. This is often a sign the system is undersized, the ductwork is leaking, or the charge is off. In an El Monte summer, a correctly commissioned system should hit its setpoint within a reasonable window rather than running continuously.
- Uneven cooling room to room. A register that blows weak air compared to others suggests a duct or balancing issue. Ask about it before the season ends.
- Condensate overflow or water stains. Any water near the air handler or in the drain pan means the drain setup wasn’t right or the trap is clogged.
- Rising electric bills beyond the seasonal norm. Efficiency loss often shows up in the bill first. If your usage climbs faster than your neighbor’s or than prior years, get it checked.
For a household with a new system that just isn’t performing the way it should, our team can run diagnostics and trace the issue back to its source. Learn more about the full range of what we do and how we approach diagnostics on the AC Repair El Monte page.
Protecting Your Warranty in California’s Climate
Manufacturer warranties typically require proper installation, documented commissioning, and sometimes professional maintenance to stay valid. On top of that, California has its own layer: energy efficiency standards and permit requirements that vary by city. Your warranty protection is only as good as the paper trail you keep.
Here’s what to keep in a file, physical or digital, for the life of the equipment:
- The signed installation invoice with model and serial numbers.
- The commissioning readings (refrigerant charge, static pressure, temperature split, airflow setting).
- The permit number and inspection sign-off if your city required one.
- The warranty registration confirmation.
- Every tune-up invoice and service ticket.
Warranty terms vary widely by brand, so read the fine print on yours, or ask your installer to walk you through the maintenance requirements. Some manufacturers require annual professional service to keep the parts warranty active, while others don’t. Knowing which one applies to you is the difference between a covered compressor and an out-of-pocket one.
Common Mistakes to Avoid
- Skipping the walkthrough. Letting the crew leave without a commissioning review throws away your best chance to catch a problem. Insist on seeing the readings in person.
- Following the filter schedule on the box. El Monte’s dust load runs higher than the national average the manufacturer built its interval around. Shorten your change interval, especially in the first 90 days.
- Filing the invoice without reading it. Missing model and serial numbers, no charge readings, no permit number: these absences matter when you file a warranty claim.
- Choosing a filter that’s too restrictive. A high-MERV filter that chokes airflow creates static-pressure problems and can shorten blower life. Match the filter to your system’s airflow capacity.
- Waiting until the system fails to book a tune-up. Annual service catches slow leaks and failing capacitors before they become summer emergencies. Book it before the cooling season starts, not in the middle of a heat wave.
- Ignoring a runtime change. A new unit that suddenly runs longer, louder, or more often is telling you something. Note the change and address it before it becomes a bigger repair.
- Assuming the installer’s brand means the installer knows your brand. Ask directly which manufacturers the technician is certified to work on before equipment is installed or serviced.
See the difference
 Before
 After
 Before
 After
 Before
 After
When to Call a Professional
Some of the checklist is yours to handle: filters, visual checks, the noise test. Other items should always go to a trained technician. Refrigerant handling, electrical diagnostics, compressor and capacitor work, and duct airflow modifications involve real risk and require licensed hands. If you’ve got a new system that isn’t hitting setpoint, a noise you can’t identify, a refrigerant leak, a thermostat that won’t hold, or an invoice with missing line items you want explained, it’s time to call.
AC Repair El Monte offers free estimates in El Monte. Call (833) 943-2930. We answer 24/7. Fast dispatch from 7am to 7pm, Sunday through Friday. Our technicians have up to 15 years of experience and work across the nine major manufacturers, so you’re not paying a learning-curve premium.
Frequently Asked Questions
Confirm three items before the crew leaves: the measured refrigerant charge (subcooling or superheat) with the manufacturer’s target, the static pressure test results for your ductwork, and clear labeling on the electrical disconnect. Ask for all three in writing on the invoice, plus the model and serial numbers of the equipment. Call (833) 943-2930 if you need help verifying an install that’s already been done.
Change it at 30 days after install, then every 30 to 45 days during the cooling season and every 60 to 90 days the rest of the year. El Monte’s dust load is higher than the national average the manufacturer’s interval assumes, so following the box will leave you running a clogged filter. Homes with pets, nearby construction, or open windows should shorten these further.
A static pressure test measures how hard your system’s blower is working to push air through the ductwork. A high reading means restricted airflow, which forces the unit to run hotter, louder, and less efficiently. Ask for the total external static pressure reading in inches of water column at install. If it’s high, duct modifications may be needed.
Most California cities, including El Monte, require a permit for AC replacement and new installation. Ask El Monte’s building department what applies to your address, and confirm the permit number appears on your installation invoice. A contractor who shrugs off the permit question is one to think twice about.
Our team is certified to work on Carrier, Trane, Lennox, Goodman, Rheem, York, Daikin, Bryant, and American Standard equipment. That covers most of what’s already installed in El Monte homes and most of what’s on the market for new installs. Call (833) 943-2930 to confirm your specific model before scheduling.
Same-day service is available for most repair situations. Call (833) 943-2930 for a free estimate. We answer 24/7. Fast dispatch from 7am to 7pm, Sunday through Friday. If you call outside dispatch hours, we’ll book you into the next opening.
The Bottom Line
A new AC installation is only as good as the commissioning behind it and the maintenance that follows. Verify charge readings, static pressure data, and disconnect labeling before the crew leaves. Shorten your filter schedule for El Monte’s dust load. Hit the 30-day, 90-day, and 1-year milestones. Read the invoice for what’s missing, not just what’s on it. And when something looks off during the first cooling season, address it while it’s still a small line item. Our technicians have up to 15 years of experience across Carrier, Trane, Lennox, Goodman, Rheem, York, Daikin, Bryant, and American Standard, so no matter what’s in your home, we work on your brand.
Call (833) 943-2930 for a free estimate. We’re ready to help you get a new install commissioned right or troubleshoot one that isn’t performing. We answer 24/7, with fast dispatch from 7am to 7pm, Sunday through Friday.
Written by the team at AC Repair El Monte.